Saturday, February 26, 2011

Another Cabbage Salad aka Cabbage Slaw with Hot Bacon Dressing

In addition to turnips, cabbage is also ever present in my crisper drawer. Between cabbage and turnips, we are taking a break from renewing our CSA subscription--I need to get the cabbage and turnip take over under control before re-upping. I am getting there. I am down to less than 10 turnips (seriously, there were that many!) and half a head of cabbage. This recipe helped the cabbage problem.

I don't like cole slaw. Can't stand it. It's a funny thing. I love mayonnaise, so much, I like off the spoon or knife after getting some out of the container. But cole slaw--it too often ends up a gooey, runny mess. I get shivers (not the good kind--the fingernails on a blackboard kind) just thinking about.

I know I also have several cabbage salad recipes posted already. There's cabbage chicken salad, Asian cabbage salad, and cabbage salad for tacos and bahn mi. This one is different than the rest in that uses BACON! It made me think briefly about my Grandma Hess's Hot Bacon Dandelion Salad.

I loved it. Curtis wasn't home to try it (I sent it in his lunch today, we'll see what he thinks). The kids didn't try it, but I don't expect them to try cabbage salads. J and little I prefer their cabbage raw and unadorned. M doesn't eat it unless it's cooked.

This recipe will serve 6 as a salad.

Cabbage Slaw with Hot Bacon Dressing
adapted from Bon Appetit

3 oz bacon (2 thick farmers' market slices)
1/4 c onion, finely chopped (or shallots)
1 T extra virgin olive oil
1/4 c raisins
3 T balsamic vinegar
6 c (about 1/2 a head) of cabbage, red is preferable, green will do fine, thinly sliced
1/2 c sliced almonds, toasted
1/4 c parsley, chopped (optional)

Fry bacon in a skillet until browned and crispy. Remove from pan. Crumble into small pieces when cool enough to handle. Add onions to bacon drippings in the pan and saute until softened, about 3- 5 minutes. Remove from heat. Stir in crumbled bacon, raisins, balsamic vinegar, and olive oil. Season with salt and black pepper (it won't need much salt thanks to the bacon). Place cabbage in a medium bowl. Pour bacon dressing over top of the cabbage and toss to coat. Let stand 5 - 10 minutes. Add almonds and parsley, if using. Toss to blend and adjust seasonings (salt and pepper) if necessary.

Tuesday, February 22, 2011

Moroccan Pickled Vegetables


As I said in the last post, I've been on a hunt for turnip recipes. I loved food52 a little more when I found many turnip recipes on there. One of those recipes was for pickled mixed vegetables. I made them, with many reservations. Two cups of olive oil? Only two pints of vegetables? Would we like them? Was my chili garlic sauce the right kind? Would it be too spicy with the chili garlic sauce?

Wouldn't you know it, it turned out ok! I was pleasantly surprised! I ended up using only 1 1/2 cups of olive oil and I still think it is a little too oily. The recipe made two quarts easily, and I even cut down on the amount of veggies I used. We've been eating with meals and have enjoyed it. In fact, I think I will probably even make it again.

A few additional notes on the recipe. If you use the amounts called for, which I am including, it will make probably four quarts. Just divide each layer on vegetables between four jars. This recipe also needs to sit for three days before serving. This sitting should take place at room temperature. After the initial three days, keep in the refrigerator for up to a month. The harissa also makes way more than you need. Refrigerate the extra for up to 3 months and use as you make new batches of pickled vegetables (or search for harissa recipes). Just keep it covered with a light film of olive oil.

Moroccan Pickled Vegetables
adapted from epicureanodyssey on food52.com

For the Harissa:
1 1/2 c Asian chile-garlic sauce
1 lg garlic clove, roughly chopped
1 T coriander
1 T caraway seeds
1 T dried mint (optional)
1 t kosher salt
1 T extra virgin olive oil

For the vegetables:
2 small cucumbers, unpeeled, sliced 1/4" thick
3 medium carrots, peeled, sliced 1/4" thick
2 medium turnips, peeled, halved, and cut into thin wedges
6 medium garlic cloves, peeled and lightly crushed
1 medium sweet onion, peeled, halved lengthwise and cut into thin strips
1/2 large red or yellow pepper, seeded and sliced
1/2 head green cabbage, cut in half, cored, and cut into 1/2" slices
6 oz mixed olives
2 lemons, halved, seeded and thinly sliced
4 thyme sprigs
1 t dried oregano
2 - 4 bay leaves
1 T caraway seeds, lightly crushed
1 T coriander seeds, lightly crushed
small pinch of saffron
2 T harissa

For the pickles:
1 1/4 c white vinegar
1 1/4 c apple cider vinegar
1 1/2 c extra virgin olive oil
2 T sugar
1 T kosher salt


For the harissa: Put all ingredients in a food processor and process to a paste. Set aside until you assemble the jars.

Divide the vegetables and herbs evenly between 4, 1-quart jars. Layer in the order listed in each jar. Top each with a little harissa. Meanwhile, in a medium saucepan, gently heat the olive oil, vinegars, sugar, and salt over medium-low heat until the sugar dissolves. Pour over the vegetable mixture. (Don't make it too hot or it will break the glass jars. If you think it is too hot or are worried about it, just let it cool a little before adding it). Cover and shake the jars to distribute the spices evenly.

Let set at room temperature for 3 days. Store in the refrigerator after that.

To serve, empty jar into a bowl. Top with some fresh feta if desired. (You can return uneaten portion to jar and eat another time).

Thursday, February 17, 2011

Beauty Paste Chicken with Roasted Root Vegetables


I've been on a Turnip binge lately. It hasn't been out of choice. They've been collecting in my crisper drawer in the fridge for a few months now. Occasionally, I'll make my yummy braised root vegetables as a side, but I am not a side lover. I would rather find a main course that can incorporate as many vegetables and parts of the meal as possible. Since Friday, I've made Homespun Potpie (with kohlrabi, turnips, and sweet potatoes--hold the chicken), 
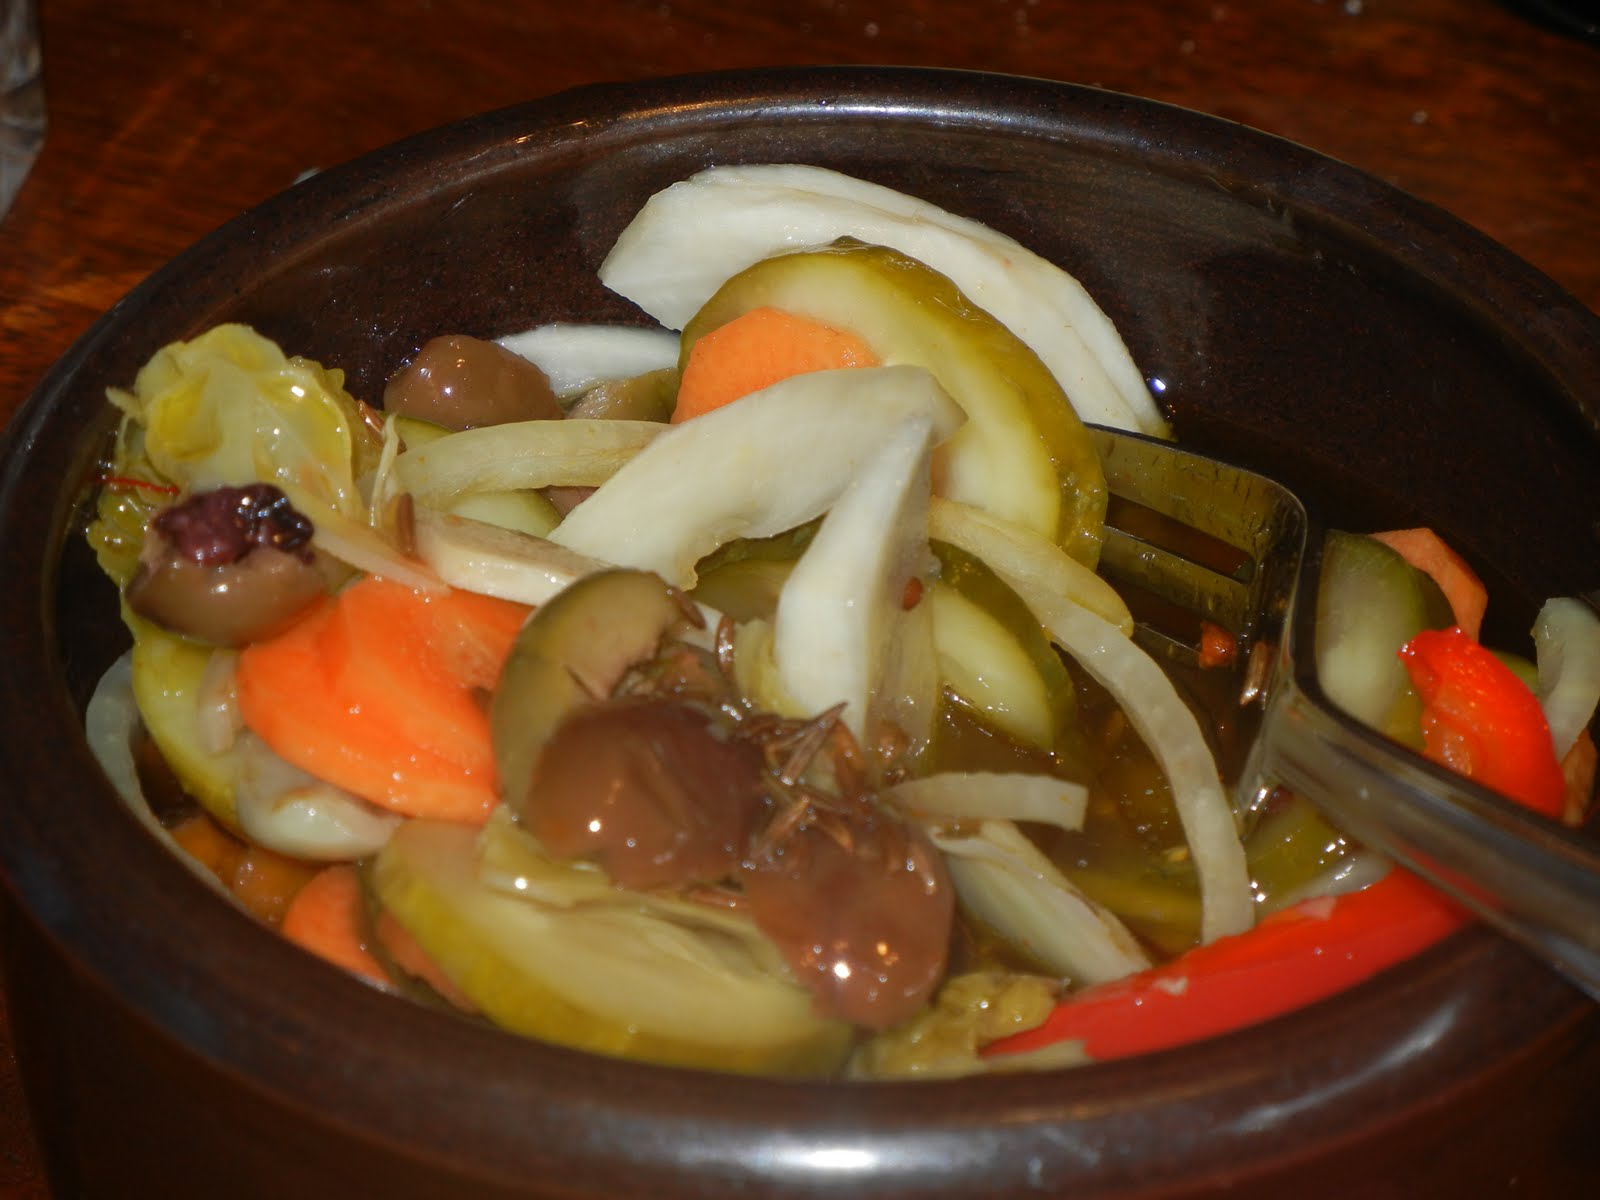
Moroccan Vegetable Stew, and Beauty Paste Chicken with roasted vegetables (which included turnips). All of these meals, I've really enjoyed. I don't mind turnips, I just have a hard time remembering to use them. Needless to say, after all of this turnip binging, I've put a significant dent in my turnip collection, however, it is far from gone.

The Beauty Paste chicken was easy and the roasted vegetables were great. I tried the roasted vegetables two ways--one on a separate sheet pan below the roasting chicken and the other was in the roasting pan with the chicken. I liked them both ways, but I think I may have slightly preferred the roasting pan over the sheet pan. The potatoes developed their rich, buttery taste more in the roasting pan (maybe because the chicken was coated in butter?). The vegetables didn't quite all fit in the roasting pan, so more than likely, I'll do it both ways again next time.

I can't go wrong with making chicken for my kids. I can't go wrong with making roasted vegetables for me. We loved it (Curtis wasn't home this evening). I am looking forward to make chicken stock today with the bones and am scheming about what I may make with the leftover chicken (enchiladas, anyone?).

I was hesitant about using 5 T mustard powder. I only used 3 T, because that was all I had. The chicken could definitely handle 5 - 6 T, and if you are feeling really bold, find hot mustard powder (I wasn't because of M's sensitive tastes). I also inadvertently forgot the celery, I think because I was so excited about using more turnips.

This serves 4 - 6.

Beauty Paste Chicken with Roasted Vegetables
adapted from SaySchwartzandBeSure on Food52.com

5 T soft (mostly but not quite melted) butter
5 - 6 T dry mustard powder
1 T fresh thyme leaves
fresh ground black pepper
1 roaster chicken (3 - 5 lbs)

3 carrots, sliced 1/4" thick
2 leeks, white parts only, sliced 1/2" thick
2 celery stalks, cut into 2" chunks
2 medium white turnips (about the size of apples), cut into wedges
12 new red or white potatoes
1 red or sweet onion, cut into wedges
1 t sea salt
1/2 - 1 t lemon zest
fresh ground pepper
1 - 2 T olive oil

yellow onion, cut into quarters

Wash inside and out of chicken. Trim access fat. Pat dry and set aside.

Combine softened butter and mustard powder in a small bowl and whisk until smooth. Stir in pepper and fresh thyme. (If you've accidently melted the butter, let the butter/mustard combo stand at room temperature for a while). Set aside.

Combine the carrots, leeks, celery, turnips, potatoes, and red onion in a large bowl. Drizzle with olive oil and sprinkle with salt, pepper, and lemon zest. Toss to equally coat all the vegetables.

Sprinkle the inside of the chicken generously with salt and pepper. Stuff with yellow onion quarters. Using your hand, scoop the beauty paste all over the chicken in a thick layer. (The paste is what crisps the skin and keeps the chicken moist, don't skimp on this. If you run out of paste, make more). Place the chicken in a roasting pan. Surround the chicken with as many vegetables as well fit (you want the vegetables in a single to double layer at most. Don't fill the pan to the top with vegetables). Put remaining vegetables on a sheet pan.

Roast the chicken in a preheated 400 degrees oven for 20 minutes. Reduce the the heat to 350 and roast an additional 1 1/4 - 1 1/2 hours, depending on size and kind of chicken (organic vs free range vs conventional), until internal temp in the thickest part (between the thigh and leg) is 180 degrees. Let rest for 10 minutes before serving.

For the vegetables on the sheet pan, stir occasionally and remove from oven once they are tender. Warm right before serving the chicken and combine with the vegetables cooked in the roasting pan.

Thursday, February 10, 2011

Roasted Cauliflower with Golden Raisins

Mmmm....roasted cauliflower. Cauliflower is another one of those things I discovered I like if it is made just right. Roasting is just right. M disagrees--she likes the cauliflower steamed or lightly boiled. The browned sections of roasted cauliflower equals burnt, so she won't touch it.

We (Curtis and I) enjoyed this. This is a nice switch from the roasted Brussels sprouts and cauliflower I usually make.

This serves 2 - 4 adults depending on the size of your head of cauliflower

Roasted Cauliflower with Golden Raisins
from Food and Wine magazine

1 head of cauliflower, cut into small florets
2 1/2 T extra virgin olive oil
1 T balsamic vinegar (white is preferable, but I used regular and it was just fine)
salt and freshly ground pepper
2 T golden raisins
1/4 c Pecorino Romano, Manchego, or Parmesan cheese, freshly grated
1 T parsley, chopped

Spread the cauliflower on a jelly roll (half sheet pan with sides) pan. Drizzle with 2 T olive oil and balsamic vinegar. Season lightly with salt and black pepper. Toss well. Roast in a preheated 375 degrees oven for 40 minutes, or until tender. Transfer to serving bowl. Meanwhile (during the last five minutes or so of the cauliflower's roasting time), heat remaining 1/2 T olive oil in a small skillet. Add the raisins and cook over medium heat about 1 minute, or until hot. Add the raisins to the cauliflower. Sprinkle with cheese and parsley. Serve hot.

Monday, February 7, 2011

Minestrone Soup!!! With Cabbage!!!!

I have several minestrone soups in my collection already. What propelled me to try a new one though, was the presence of cabbage.

CSA's are unpredictable, or at least our CSA is. Last year, we got just a little cabbage, at the end of the season. This year, we get a head of cabbage a week, which for us, is a lot of cabbage. I've had a hard time staying ahead it. Last year, we got tons and tons of carrots. Yesterday we got 4 small ones (and in general the bunches have been smaller). I've been buying carrots at the store to handle our winter carrot eating habit. That's just how a CSA goes, I guess. I think I'd take the carrots over the all the cabbage though.

Anyway, I was excited about this recipe, even though I was unsure of it. The recipe called for uncooked, un-soaked dried beans to be used, which just seemed like blasphemy to me. Could the beans possibly be cooked without pre-soaking them? I tried, and for the most part, they were fine. The garbanzos were a little hard still, but very edible, and I found that the next day, the consistency was just right for them. If you can, buy the beans in bulk so you can just buy as much as you need. I liked using the Parmesan cheese rind which had been hanging out in my fridge for quite a while, waiting for a recipe like this.

The kids tried this and I think they would have liked it, except for the fact that it was too spicy. Yes, I managed to make minestrone soup too spicy. I agreed with them too and found an alternative for them without any qualms (normally, they eat what we are eating, unless I know ahead of time they probably won't like it or it ends up being too spicy). I have adapted the recipe some to take this into account.

Additonally, I think this recipe easily could be adapted to a slow-cooker if you would want to experiment. This recipe is time intensive, but not much work. It just requires at least 2 1/2 hours of cooking time, so save for a cold day.

This recipes feeds 4 - 6.

Minestrone Soup--With Cabbage!!!!
adapted from Foodwriter97426 on food52.com

1 med onion, chopped
4 cloves garlic, minced
olive oil
3/4 c dry cannellini beans
1/4 c dry garbanzo beans
6 c water
1 bay leaf
2 t fresh thyme, chopped
2 t fresh rosemary, chopped
2 t fresh oregano, chopped
1 1/2 t salt
a dash of black pepper
1 c green beans, cut into 1 - 2 inch pieces (I use frozen)
1 c carrots, coarsely diced
1 can diced tomatoes (with juice)
2" piece Parmesan cheese rind
10 oz of cabbage, thinly sliced
1/3 c small pasta
1/2 c red wine

Saute onions in a little oil in a large soup pot over medium heat until onions are translucent. Add the garlic and saute another minute. Add the beans, water and by leaf. Bring to a boil, and then reduce the heat to low. Simmer for 1 1/2 hrs or until beans are just barely tender. Add thyme, rosemary, oregano, salt, dash of pepper, green beans, carrots, tomatoes, and cheese rind. Return to a boil, then cover and continue to simmer another 30 minutes over low heat. Add cabbage and pasta to the pot. If the soup looks dry at any time, add up to an additional 1 1/2 c of water. Simmer, uncovered, another 30 minutes. Add wine, and taste for seasoning, adding more salt and pepper, if desired. Serve topped with some extra grated Parmesan.

Thursday, February 3, 2011

Polenta with Fried Eggs and Garlicky Swiss Chard


Having been a CSA member for almost 4 years now has definitely expanded my eating, and not only with vegetables. In the past, I wouldn't touch grits--a good Southern food my family didn't eat much of, being more of German/Pennsylvania Dutch persuasion than Southern. I tried them, I just wasn't sold. Then I started with the CSA and found recipes for my veggies over polenta, tried them, and liked them. Maybe it was the fancy Italian name of Polenta, maybe it was just that I was more adventurous eater than during my Virginia days. Whatever, the reason, I am a polenta convert.

Although Curtis and I liked this recipe, it was a fail in the eyes of my kids (who ended up eating a fried egg and leftovers from other meals). M especially isn't a polenta fan. I'll probably make it again, because thinking of this recipe makes me happy and hungry.

This serves 4. This is supposedly a breakfast for supper recipe. I am sure it would be delightful any time of the day, but it's perfect for a Sunday evening supper on a cold day.

Polenta with Fried Eggs and Garlicky Swiss Chard
adapted from In the Kitchen with a Good Appetite by Melissa Clark

4 1/2 c water or chicken or vegetable broth
1 1/2 c polenta (or grits), the slow-cooking, not quick cooking kind
3/4 t salt
1/4 c Parmesan cheese, grated
2 bunches chard, stems removed, sliced into 1/4" strips
2 - 3 T extra virgin olive oil
2 garlic cloves, minced
red pepper flakes, to taste
4 eggs

The easiest way to cut chard or other leafy greens (including herbs) is to make a stack of all the leaves.


Then, slice it into thin ribbons.


Bring the water or broth to a simmer in a large pot. Stir in the polenta and 3/4 t salt. Simmer the polenta, stirring frequently until it is thick (your discretion on how thick you would like it), somewhere between 5 - 20 minutes, depending on your polenta. Once the polenta is thickened to your taste, stir in butter, cheese, and a dash of black pepper, remove from heat, and cover to keep warm.

While the polenta is bubbly and thickening, heat 1 T oil in a large skillet. Add the garlic and saute until garlic is fragrant, about 30 seconds. Stir in the chard and cook until wilted, about 2 minutes. Season with salt. Set aside until ready to eat.

Meanwhile (since we have three hands, right?), heat 1 T of olive oil in a large skillet or comal over medium heat. Fry the eggs until the edges are crispy and the yolks are still runny (you can break the yokes if you prefer them that way, like my family does).

To serve. Scoop some polenta onto plates. Top with chard, and then the fried egg.